
Drawing Helpers
Grids, snapping, straight lines, symmetry, perspective and the views that help place pixels.
Drawing helpers panel
View ▸ Drawing Helpers…, or Drawing helpers… in the menu of the toolbar’s Pixel grid button, opens Drawing helpers. Its settings preview on the canvas; Apply keeps them and Cancel discards them. Drawing is paused while the panel is open.
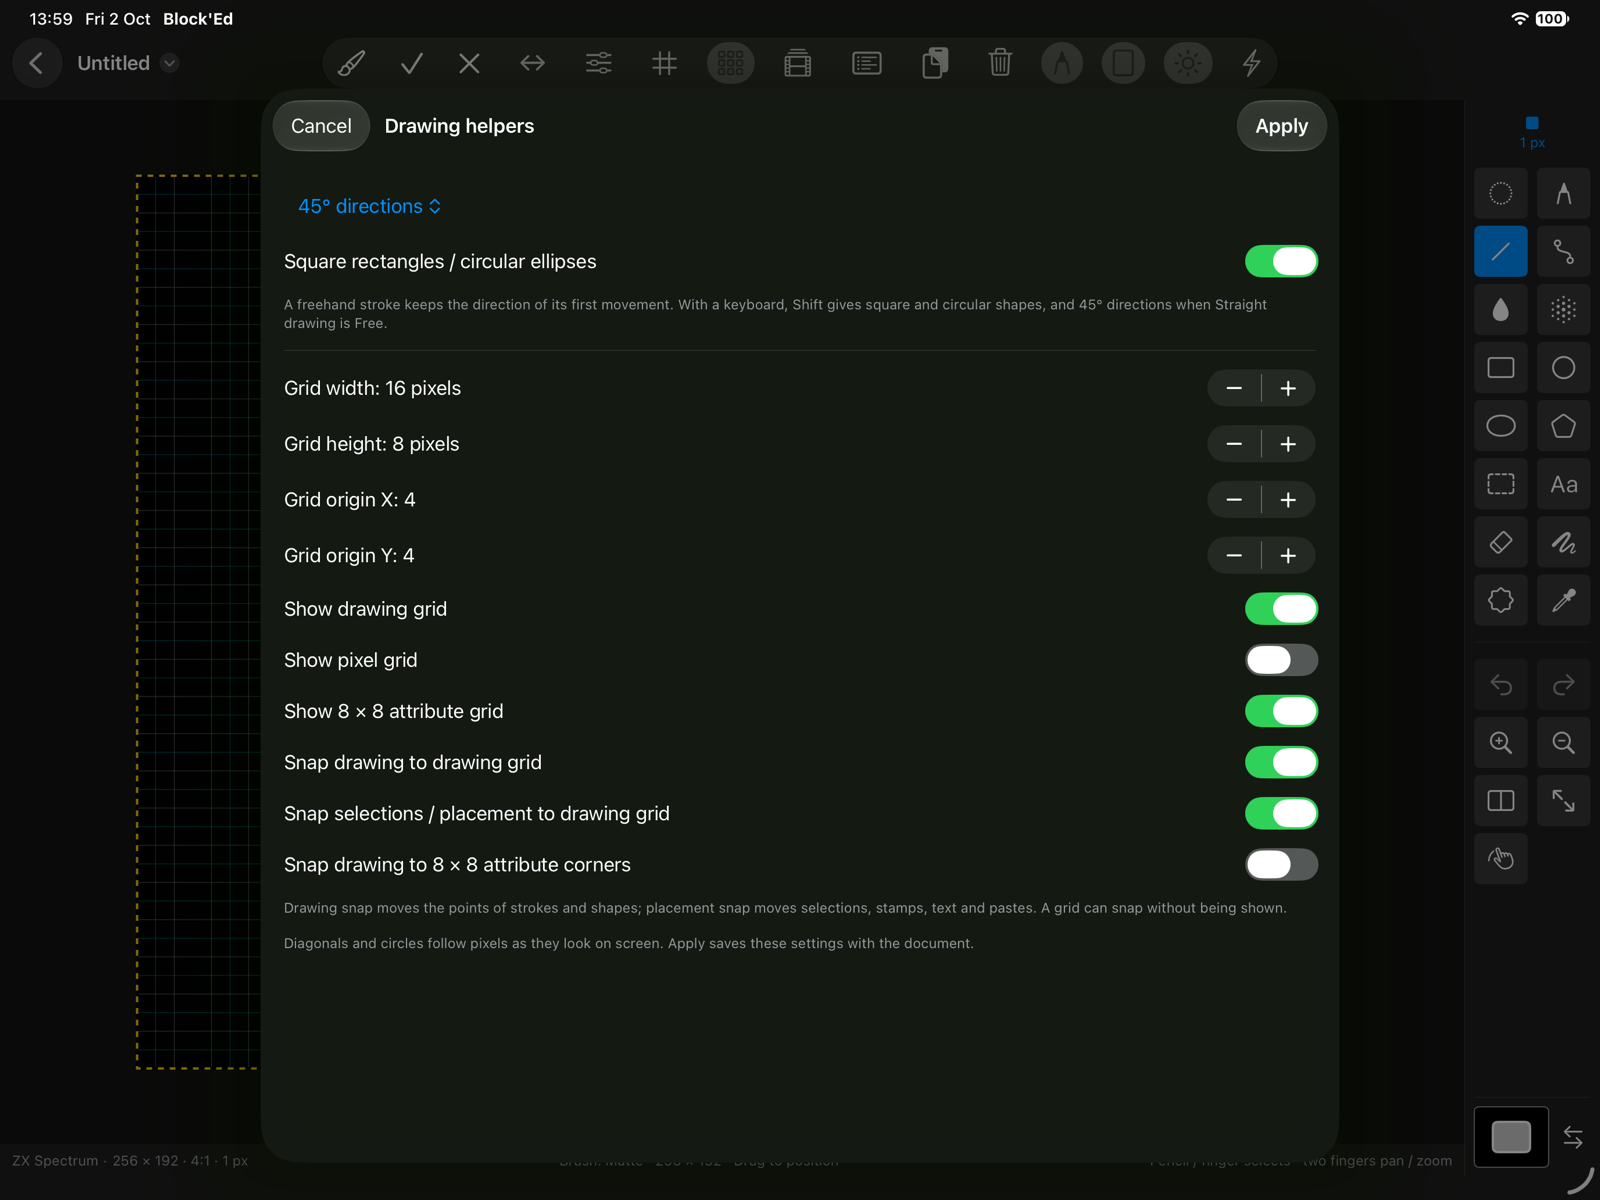
| Control | Sets |
|---|---|
| Straight drawing | Free, Horizontal, Vertical, Horizontal / vertical, or 45° directions |
| Square rectangles / circular ellipses | makes Rectangle and Ellipse square and circular |
| Grid width, Grid height | the drawing grid’s spacing, 1 to 256 pixels |
| Grid origin X, Grid origin Y | where the drawing grid starts |
| Show drawing grid | draws the drawing grid |
| Show pixel grid | draws a line between every pixel |
| Show attribute grid | ULA and Hi-Colour only: draws the attribute cells |
| Snap drawing to drawing grid | moves drawing points onto the grid |
| Snap selections / placement to drawing grid | moves selections, pastes, stamps and text onto the grid |
| Snap drawing to attribute corners | ULA and Hi-Colour only: moves drawing points onto cell corners |
The drawing grid’s spacing starts at 8, or at the pattern size in a sprite or tile document. The drawing grid starts shown in palette and pattern modes and hidden in attribute modes; the attribute grid starts shown.
Horizontal / vertical follows whichever direction the stroke moves further in first. Pencil, Dotted, Eraser, Airbrush and Filled Freehand keep the direction chosen at the start of the stroke. Select, Stamp, Text, Fill and the curve’s control point are never constrained.
If both drawing snaps are on, the grid origin must lie on a line both grids share. Otherwise the panel reports The drawing and attribute grids need shared intersections. Move the origin onto a compatible grid line or disable one drawing snap. and Apply is unavailable.
The Colour Picker tool is never snapped.
Grid buttons
The toolbar’s Pixel grid button shows the line between every pixel, from 4 × zoom upwards. The button beside it shows the attribute grid in ULA and Hi-Colour, and the drawing grid in other modes; its label names the cell or grid size. View ▸ Pixel Grid and View ▸ Attribute Grid or View ▸ Drawing Grid do the same.
If a sprite document is a single 16 × 16 pattern and the drawing grid is 16, the drawing grid shows only the canvas’s outline.
Symmetry
A tap on the toolbar’s Symmetry button, or Draw ▸ Toggle Symmetry (⇧⌘S), turns symmetry on and off; the button’s icon is filled while it is on. Each stroke is repeated across the axes, and the whole stroke is one undo step. Cyan guides show the axes. Symmetry does not apply to selections or pastes.
Holding the Symmetry button opens its menu. Mac only: the arrow beside the button opens it. Choosing a mode there turns symmetry on in that mode, and Symmetry Options… sets:
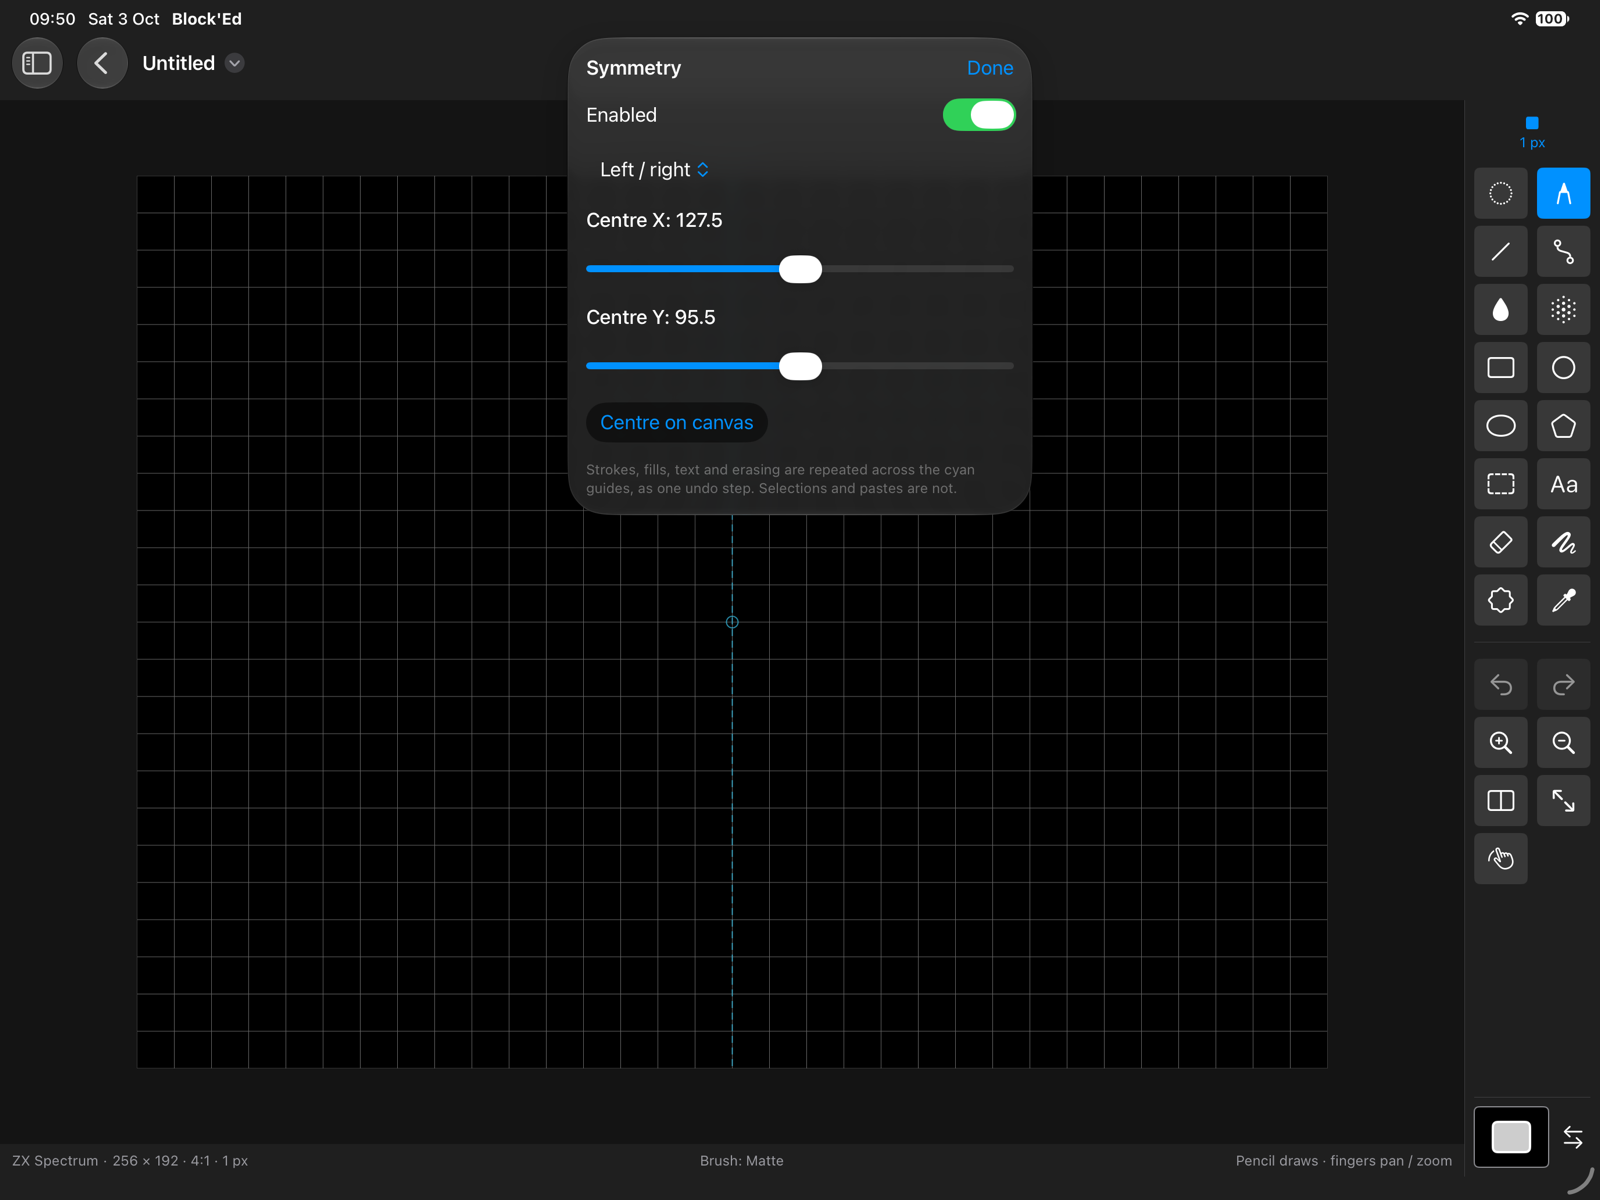
| Control | Sets |
|---|---|
| Mode | Left / right, Top / bottom, Both axes, or Radial |
| Copies | Radial only: 2 to 16 copies around the centre; 6 to start |
| Centre X, Centre Y | the centre, in half-pixel steps |
| Centre on canvas | returns the centre to the middle of the canvas |
Perspective
Perspective paints a custom brush as if it lay on a plane turned in space. Brush ▸ Toggle Perspective turns it on and off, and Brush ▸ Perspective Settings… opens Perspective.
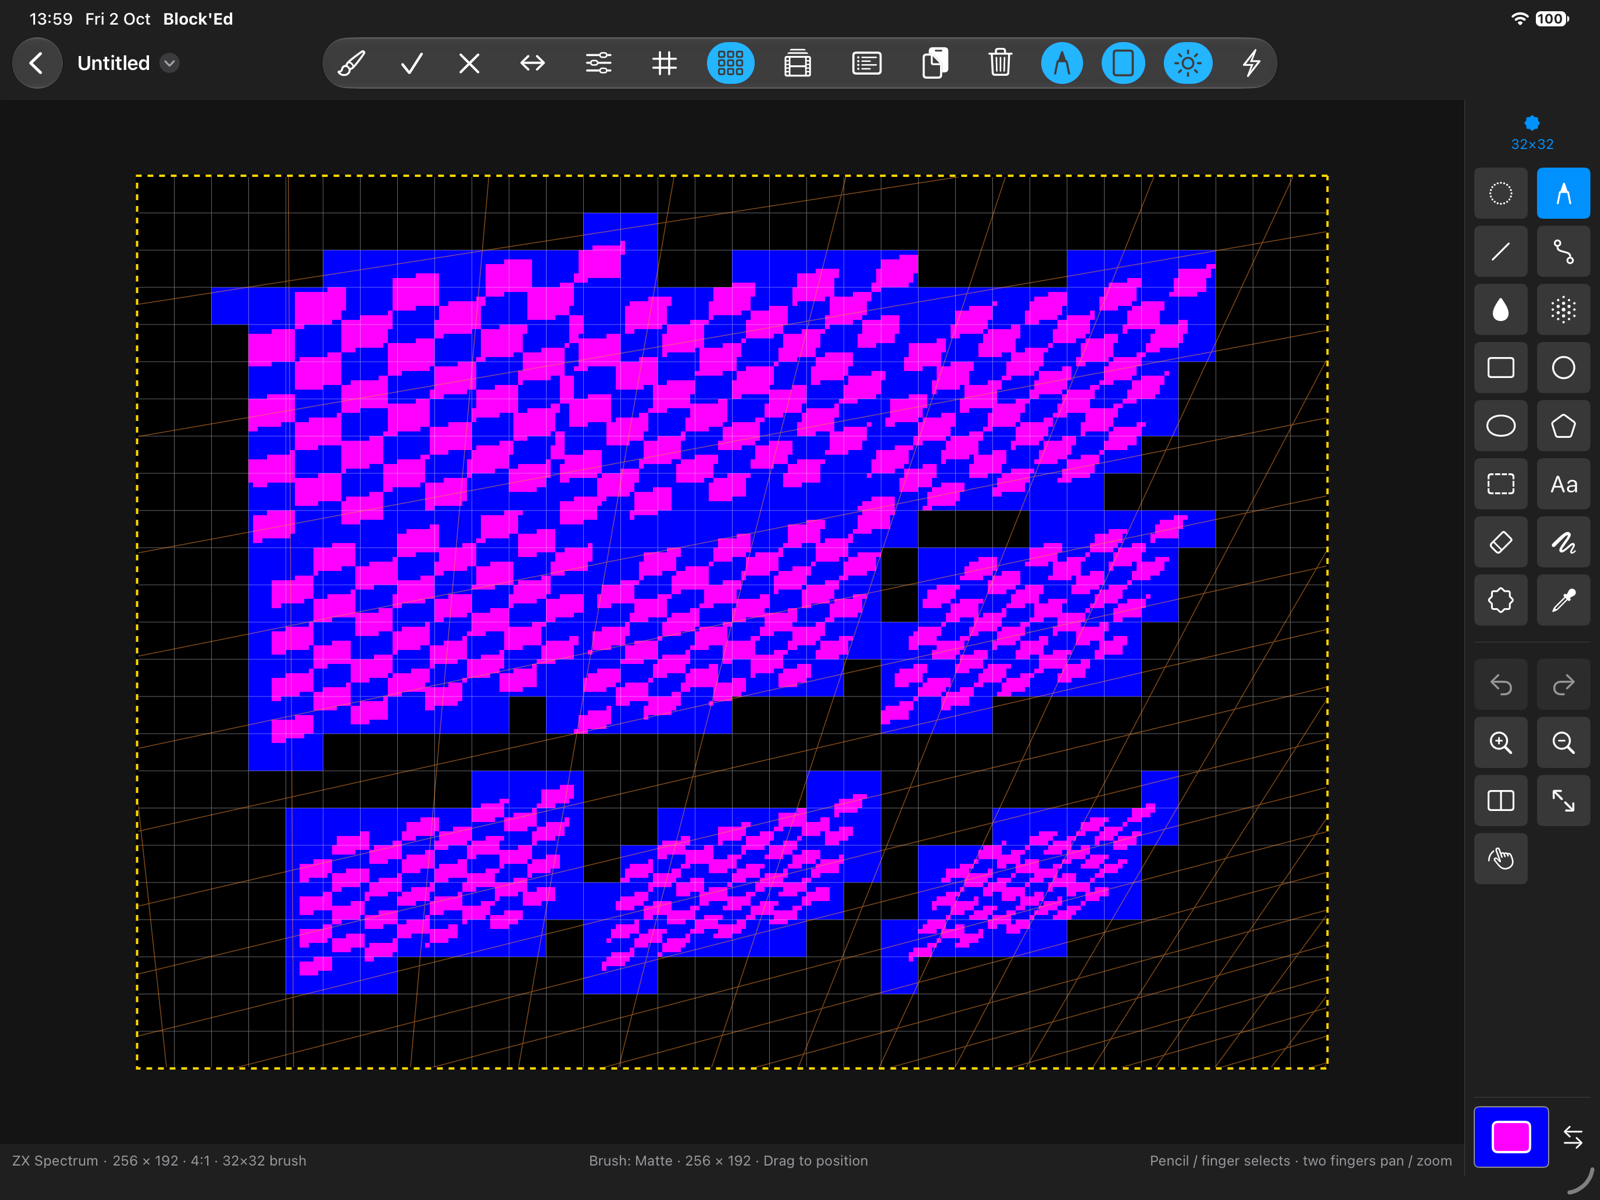
| Control | Sets |
|---|---|
| Perspective painting | on or off |
| Pitch · X, Yaw · Y, Roll · Z | the plane’s rotation, −180° to 180° |
| Depth | how far the plane is from the viewer, −384 to 2048; positive moves away |
| Brush scale | 0.125× to 8× |
| Show perspective grid | draws the plane’s grid on the canvas |
| Plane grid | the grid’s spacing, 1 to 256 display pixels; 32 to start |
| Plane centre X, Plane centre Y | where the plane’s centre lies on the canvas |
Centre plane moves the plane’s centre to the middle of the canvas, and Reset returns the settings to their starting values with perspective painting left on. A brush seen edge-on, behind the viewer, or larger than 640 pixels once projected does not paint. Perspective needs a custom brush.
Zoom
Zoom in and Zoom out in the toolstrip step through 1:8, 1:4, 1:2, 1:1, 2:1, 3:1, 4:1, 6:1, 8:1, 12:1, 16:1, 24:1, 32:1, 48:1, 64:1, 96:1 and 128:1, and through Fit, the largest scale at which the whole canvas shows. A document with half-width pixels skips the odd whole-number steps, 1:1, 3:1 and so on, so its pixels stay whole. The status line shows the current ratio.
A pinch, or a trackpad pinch on the Mac, zooms freely about the pinch point and settles on the nearest step when it ends.
Fit, or View ▸ Fit Canvas, returns to Fit and centres the canvas.
Split magnifier
Split magnifier in the toolstrip, or View ▸ Toggle Split Magnifier (⇧⌘M), splits the canvas into an overview and a detail view. The overview sits on the left in landscape and on top in portrait. Tapping or dragging in the overview moves the detail view. The detail view draws as the canvas does.
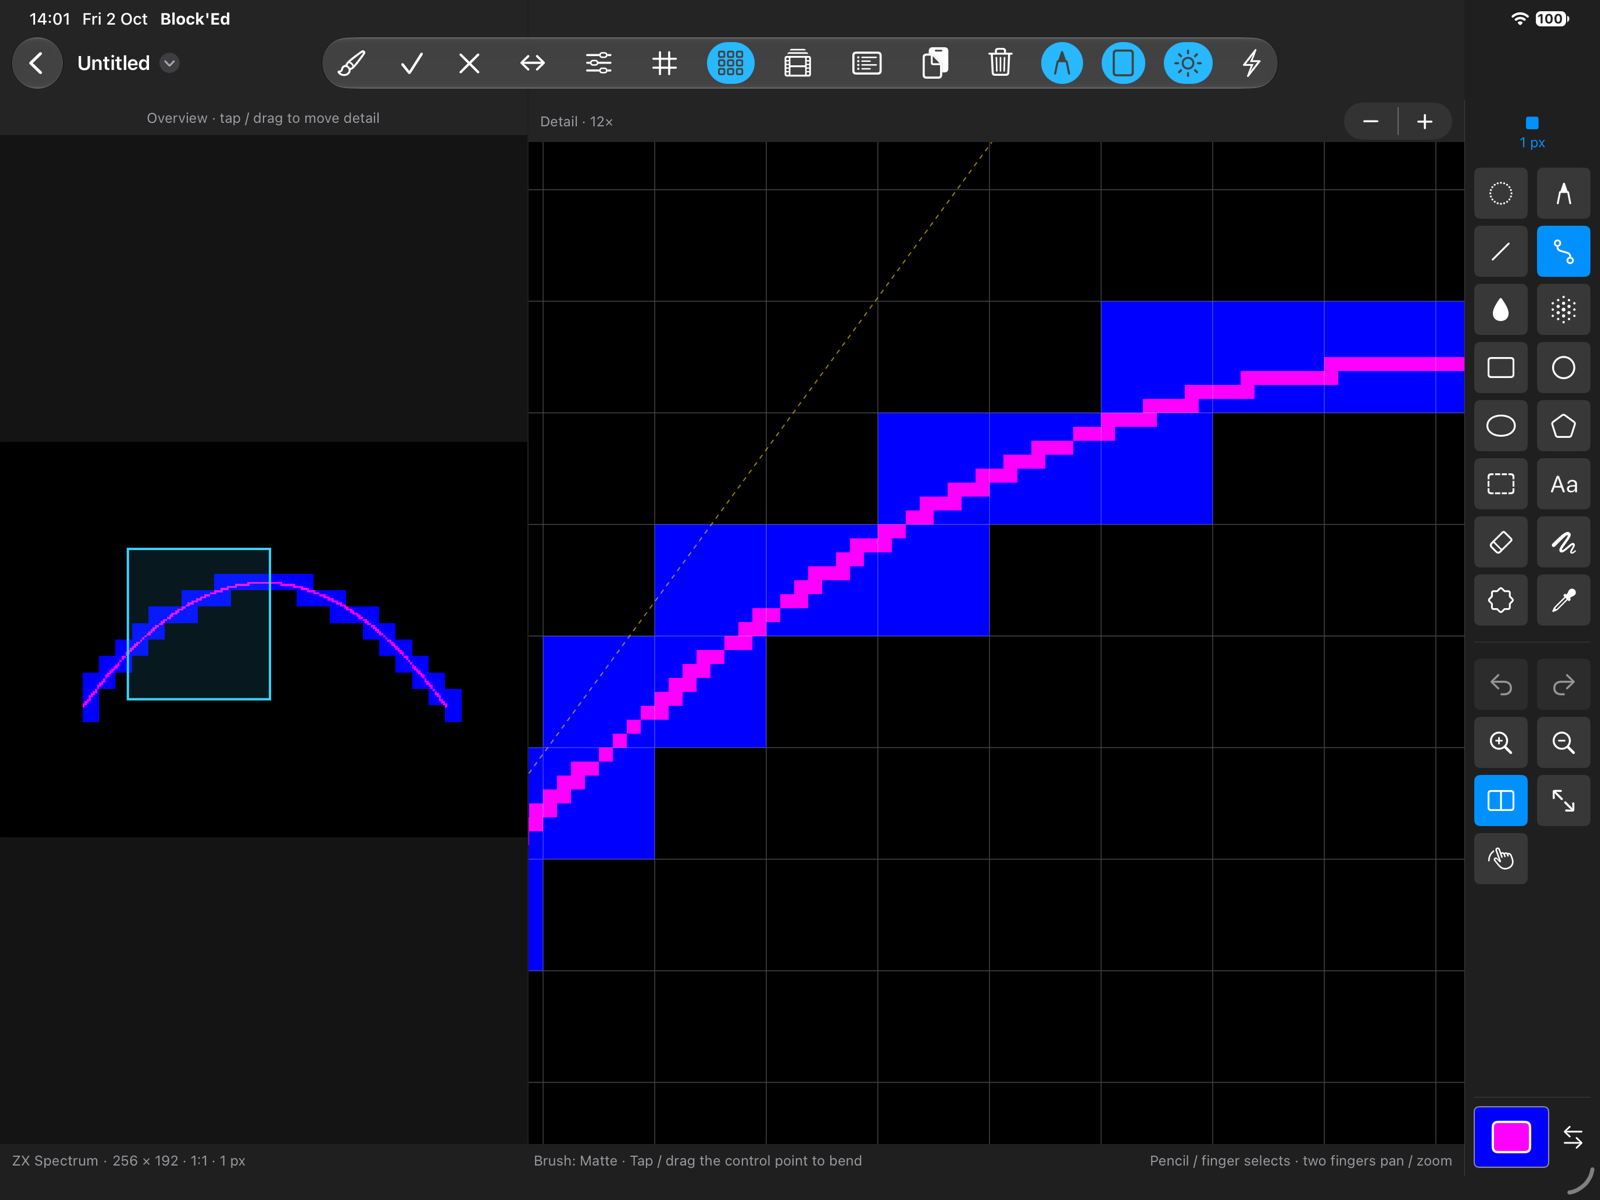
Detail scale sets the detail view’s zoom from 2× to 32×, in steps of 2 with half-width pixels; it starts at 12×. While the magnifier is on, zooming changes the detail scale, and panning the detail view moves it.
Pattern preview
In a sprite or tile document, the toolbar’s Preview patterns flipped menu shows every pattern with Mirror X, Mirror Y and Rotate 90°, as the Next’s sprite and tile attributes would display it. Rotate turns the pattern 90° clockwise before either mirror. The preview changes only what is shown: drawing lands on the stored pattern.
← User Guide · Next: Animation »